


The first thing that new players will notice when they begin to stake their claim on the Seven Kingdoms is the wide variety of buildings and support structures necessary for the daily operation of a noble family. In this guide, we’ll break down all the different building types, as well as what they’re used for.
Tip: Any time you want more information about a building, click on the Information icon![]() next to the name of the building. On some buildings, you can find additional details within the Information screen using the Stats
next to the name of the building. On some buildings, you can find additional details within the Information screen using the Stats![]() button.
button.
Guide Index
General City Buildings
City buildings are constructed inside your City Walls. Each building has a pre-existing slot set aside, waiting for the building to be constructed. You can’t construct more than one of each building in this category.
Once your Keep reaches level 10, you’ll be able to use your City buildings to research Enhancements. An Enhancement is an upgrade that provides a permanent, passive bonus to your forces in some way. Each building has access to different Enhancements, and each one allows you to choose between three different upgrades. Building Enhancements can grant your troops tremendous power, but remember—they require resources that can only be purchased in packs or farmed up by completing Events! For more information about Events, check out our Events Window guide.
Tip: You can work on an Enhancement and an Upgrade, or work on an Enhancement and train a Troop, in the same building at the same time.
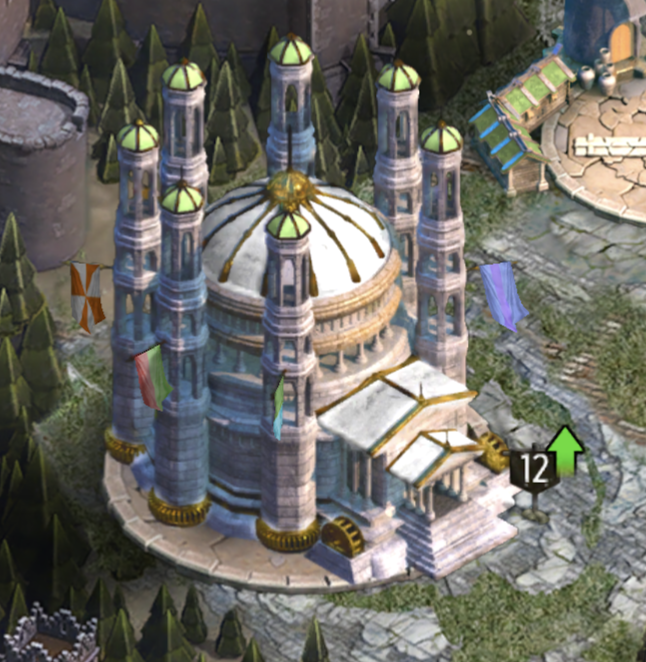
Keep

The Keep is the heart of your city, and the seat of your power. None of your other buildings can be higher level than your Keep, so any major upgrade efforts have to start here. Higher Keep levels also increase your March Size, allowing you to send more troops into the field.
Tip: Extremely high Keep levels will also increase the attack power of your troops!
Storehouse

The Storehouse is where you preserve your resources to help your people survive the long winter. Your Storehouse keeps a certain minimum amount of Food, Wood, Stone, and Iron safe and protected, no matter what might happen to your City. You can choose to spend resources down below this minimum, but nothing can take those resources away without your consent—they can’t be pillaged by other players, and the requirements to feed your army won’t ever reduce your stores below the minimum level protected by your Storehouse. Even if you get completely zeroed out, you’ll still have the resources in your Storehouse to rebuild.
The Storehouse also receives regular shipments of Resources for you to collect, so be sure to check in regularly!
Tip: If you suspect your City is about to come under attack, remember—attackers can’t steal or destroy your resources if they’re located in your Storehouse, or if they’re still in boxes in your inventory. For this reason, it can be wise to keep your resources in boxes until you’re ready to spend them!
Smithy

The Smithy is capable of crafting weapons and armor of great power. Wearing that Gear into battle will inspire your people, boosting their capabilities both in and out of combat. All Gear recipes require a certain amount of Steel, which can be acquired from events, packs, or as drops from creatures on the world map. Upgrading the Smithy allows you to forge gear faster, and reduces the Steel cost. For more information on crafting and using Gear, take a look at our Introduction to Forging Gear guide.
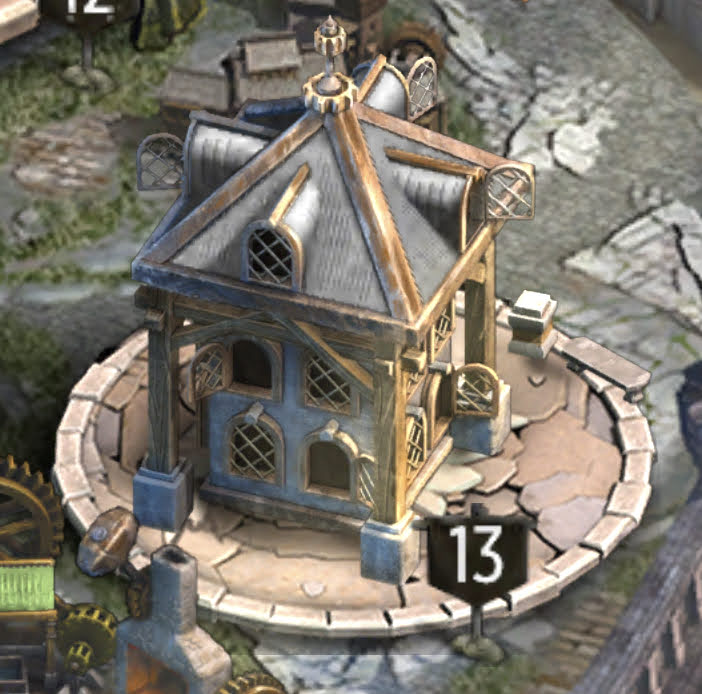
Maester’s Tower

The Maesters of Oldtown do their work in the Maester’s Tower, studying and researching new ideas and technologies which can be used to increase the capabilities of your forces, as well as your dragon. Higher level Towers are able to research upgrades faster. You can also set your Maesters and their apprentices off on Expeditions to bring back valuable treasure, and higher level Towers have access to more lucrative expeditions.
Port
The Port acts as a place to receive shipments of resources from across the sea. You’ll regularly receive shipments of resources in your Port automatically over time. The Port doesn’t need to be upgraded or maintained—it simply works on its own.
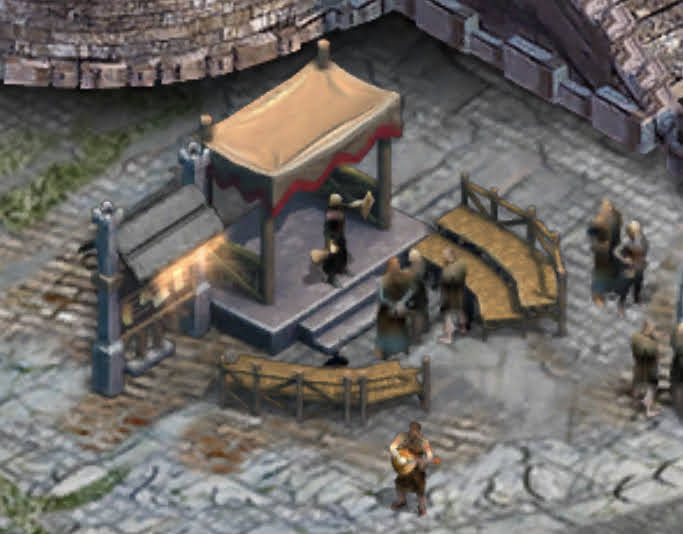
Tavern
The Tavern is where you collect your daily rewards. If you don’t receive your login rewards when you open the game for the first time each day, you can always find those rewards waiting for you here at the Tavern.
Like the Port, the Tavern can’t be upgraded.
Shrine

Noble Houses who keep the Old Gods may find that wisdom awaits those who say their prayers at a weirwood tree…and perhaps other boons as well. Each day you may pray for resources at the Shrine, and your prayers will be answered. Higher level Shrines allow you to pray for free more times per day, but you can purchase additional prayers with gold.
Tip: Choose what resources you pray for carefully, and be sure to pray every day—your prayers don’t roll over to the next day!
Tip: Daily Quests often ask you to pray for a specific resource, so it makes sense to save your daily prayers until your Daily Quest resets to see if you can optimize the reward you get for praying.
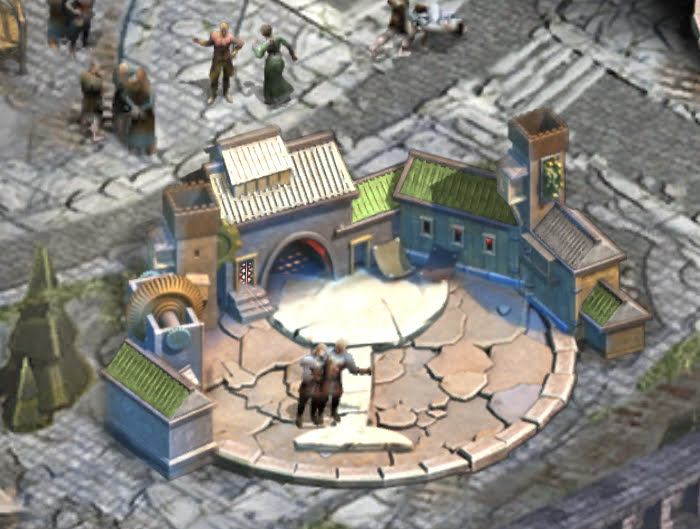
Town Square
If you ever have an issue or problem with your account or your game, you can access our FAQ or Known Bugs, as well as contacting our customer support team, by tapping on this building.
Offensive & Defensive Buildings
Wall

Your city Wall is the cornerstone of any defense. When your Wall is destroyed, your Keep is randomly relocated to a new location elsewhere on the map. Higher Wall levels also allow you to use more Traps to defend your Keep—for more information about Traps, check out our Troop Types & Nuances guide.
Tip: Only Siege Weapons are capable of damaging Walls!
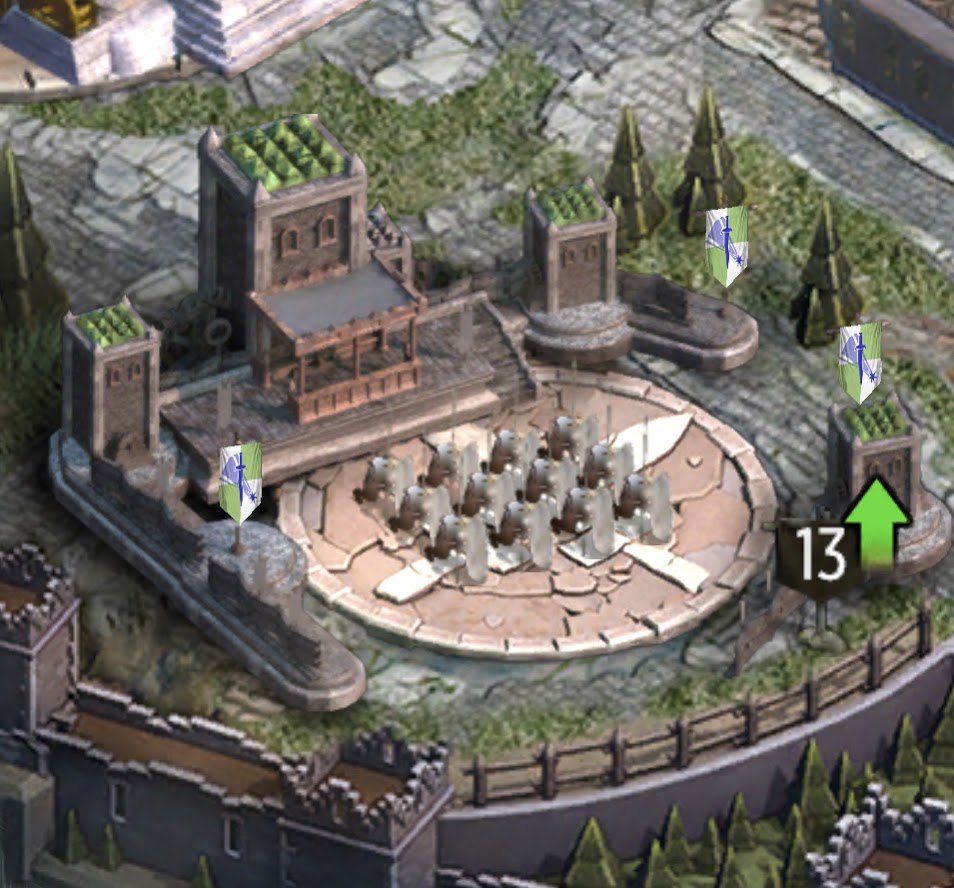
Barracks
The Barracks is where you train infantry. As you upgrade the building to increase its level, you’ll be able to train higher tier troops, and train more of them at once.
Tip: Higher tier troops don’t become available at every level! For example, Tier 6 troops become available at building level 16, but Tier 7 troops don’t unlock until building level 19.
Range

The Range is where you train Ranged troops. Just like the Barracks, when you upgrade it, you increase the number of troops you can train at a time—as well as unlocking higher tier troops at specific building levels.
Stables
The Stables is the training building for Cavalry. Just like the other two core Troop production buildings, upgrading the Stables increases the number of Troops you can train at once, as well as unlocking higher tier troops at specific levels.
Workshop

The Workshop is where Siege Weapons are constructed. Just like the others, higher levels allow you to train more Siege Weapons at a time, and specific levels unlock access to higher tiers of Siege Weapons.
Trap Maker
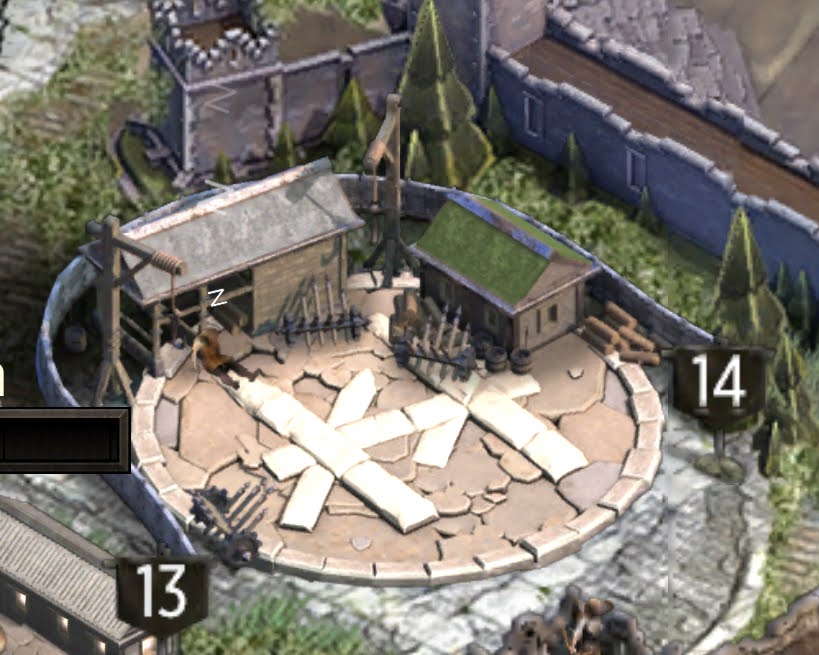
The Trap Maker allows you to construct Traps to be used for the defense of your city. Higher level Trap Makers can construct more dangerous Traps, and in greater numbers.
Tip: There are three traps at each tier—each one designed to counter a specific type of troop. Because of this, a new trap type unlocks at each level, rather than every three levels like the other production buildings. For more on Traps, check our Troop Types and Nuances guide.
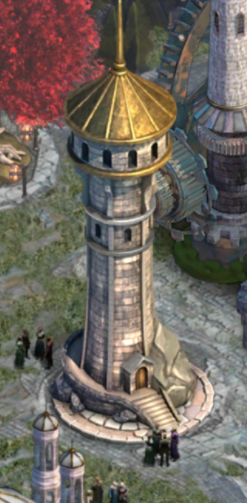
Watchtower

The Watchtower is a key element in the defense of your city, but it also plays an important role in offense. When you construct the Watchtower, you’ll automatically be warned about incoming attacks or scouting attempts made against you by other players. At higher levels, upgrading the Watchtower will also improve your own scouting—increasing both the speed of your scouting expeditions and the amount of information your scouts are able to gather. To see a full breakdown of all the information that a good Watchtower can provide, click on the “information” button on the watchtower, and then the “stats” button on the top right.
For more information about how Scouting works, check out our PvP guide.
Training Yard
The Training Yard is where your Captains drill your troops in the basics of cohesive military maneuvering. Higher levels of Training Yard allow you to organize larger Marches, putting more Troops in the field at any one time.
Rookery
The Rookery is the communications hub for any Great House. If you need to defend against an attack, a Rookery allows you to send ravens to your allies requesting Reinforcements. Higher level Rookeries allow you to accommodate more reinforcements in your Keep, bolstering your defenses…at least, if your allies come through!
For more information about how Reinforcements work, check out our PVP Guide.
Dragon Pit
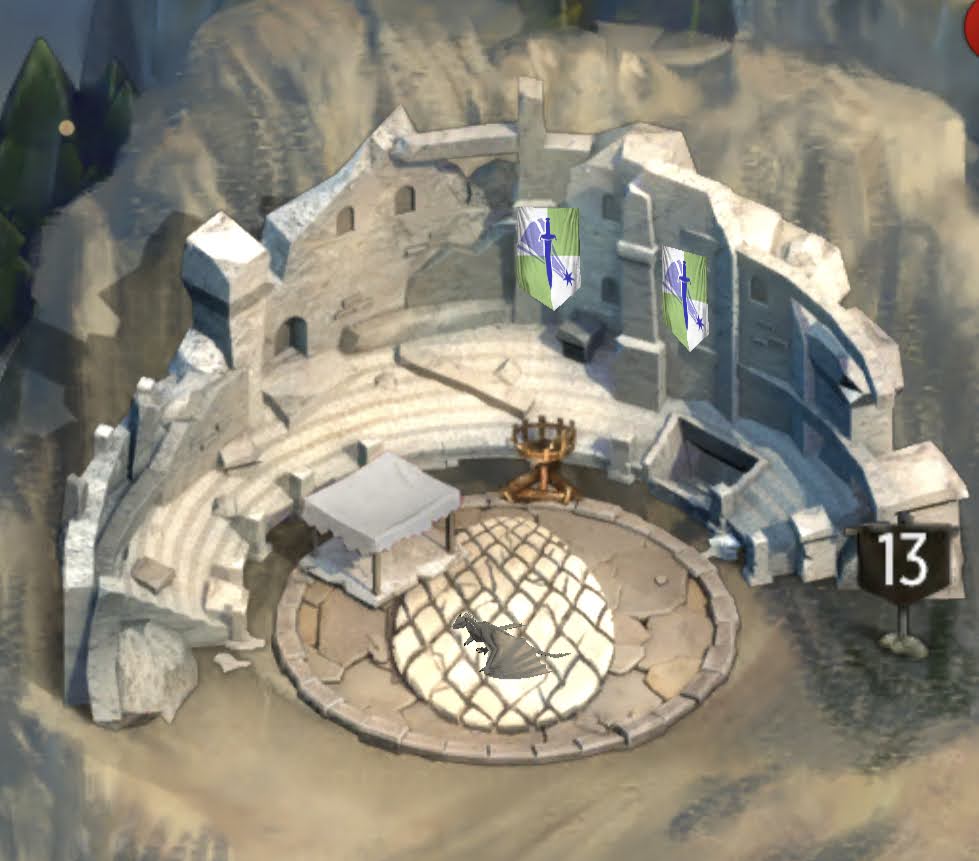
The Dragon Pit is built to house—and in some cases also to restrain—the most terrifying creature in Westeros…a dragon. As a member of a house that’s lucky enough to have a single dragon at its disposal, The Dragon Pit is where you train and care for it. You’ll feed your dragon here, as well as assigning and distributing its talent points. As you upgrade the Dragon Pit, you’ll receive bonuses when feeding your dragon. Dragons have fearsome capabilities, so for more information on how to get the most of them, check out our Dragon 101 guide, as well as our Dragon Talents & Research guide coming soon.
Great Hall
When it’s time to host guests from other great and noble houses, the Great Hall is the place to do it. If you choose to call a Rally to attempt to attack a Keep or Seat of Power as a group, a higher level Great Hall will allow you to accommodate a greater number of allied forces to support you. Great Halls also serve as a place to receive regular shipments of resources from around Westeros, so check in on them often.
For more information about Rallies and Reinforcements, see our PvP guide coming soon.
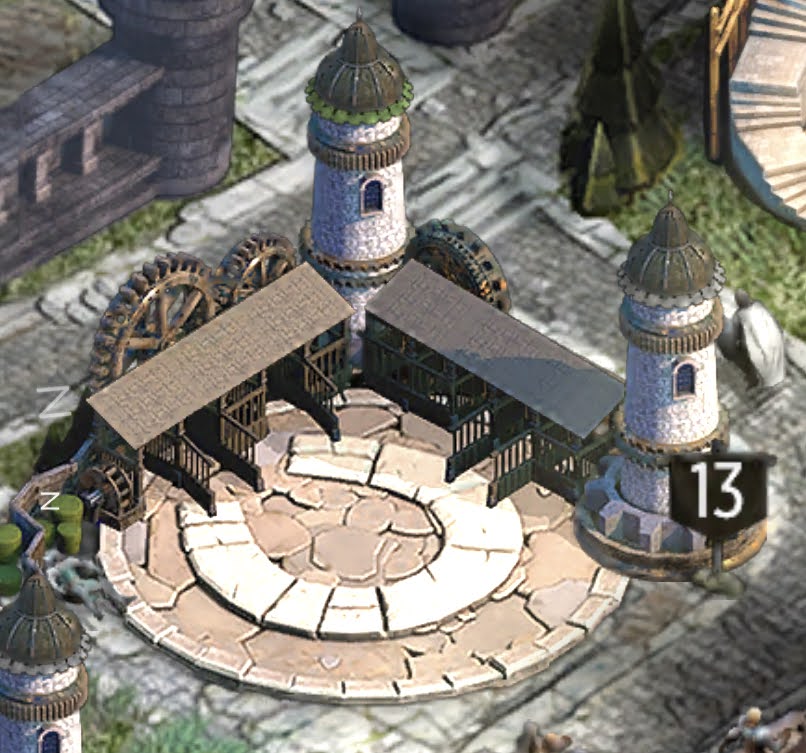
The Tower of the Hand
The Tower of the Hand is where you can summon and upgrade Heroes, allowing you to assign them to the Small Council.
Heroes offer powerful bonuses that will aid your conquest of Westeros! You can assign these Heroes to your Small Council for passive bonuses, or send them on a March to lead your troops. The Small Council within the Tower of the Hand has eight seats, representing different facets of governance in Westeros. Assigning a Hero to a seat activates their Small Council Skills that will apply bonuses to gameplay.
Check the Tower each day for 1 free Standard Summon!
Red Temple

The Red Temple is where followers of R’hllor will gather to worship and revive Doomed troops. If you have the doomed capacity, the Red Temple will save your two highest top tier troops. These Doomed troops can be resurrected by consuming Light.
Light will generate over time. As Light is produced, it will eventually reach its maximum storage capacity — when it does, you’ll need to tap the Light icon above the Red Temple to collect it.
The Red Temple itself doesn’t need to be upgraded once built— it will simply rely on the level of your Medic Tents to grow. The more Medic Tents you have, the greater your capacity to accommodate Doomed Troops within the Red Temple.
Rural Buildings
Rural buildings are placed in the plots outside your City Walls. There are 40 plots available to construct Rural buildings in, and you can choose which buildings to place where. You can have more than one of each type of building, but the total number of buildings of each type you can construct is limited by your Keep’s level.
The buildings that produce resources—Farms, Sawmills, Stone Quarries, and Mines—can all have their efficiency increased using Boosts. To use a Boost, you can click on the individual building and use it there, or you can use them from the Boost center.
Farm
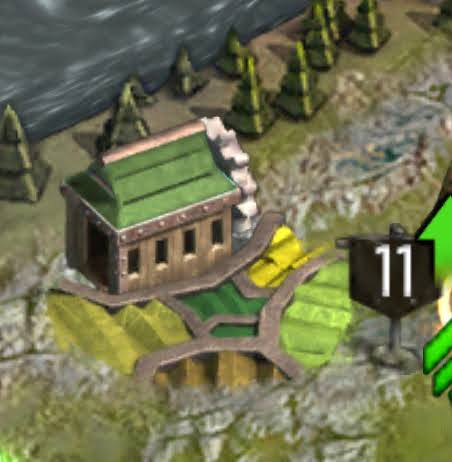
Farms generate food for your troops. As they produce Food, they eventually reach their maximum storage capacity—when they do, you’ll need to tap the Food icon above the Farm to clear out the storage so additional Food can be produced. Higher level Farms produce more Food, and can store higher amounts of Food.
Tip: You can check how much Food your Farms generate, as well as how much Food your Troops require, by tapping on the Income board near your Wall.
Sawmill

Similar to Farms, Sawmills produce Wood that can be used to construct and upgrade buildings, and to train Troops. Higher level Sawmills produce Wood faster, and can store more Wood before needing to be cleared out.
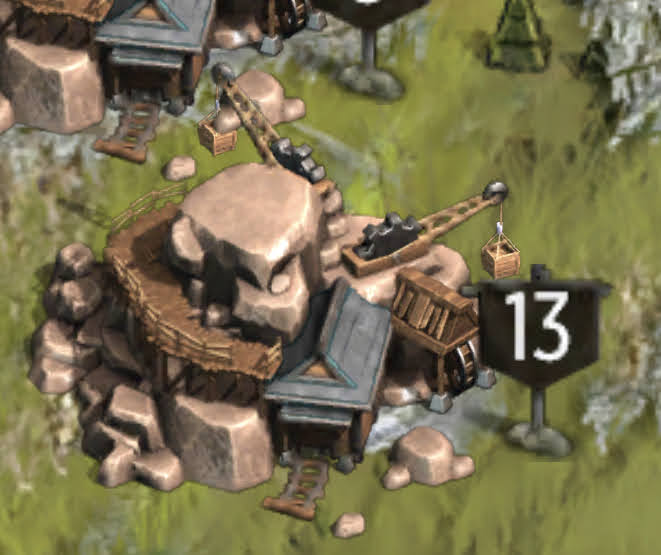
Stone Quarry

Similar to Farms and Sawmills, Stone Quarries produce stone which can be used to upgrade high level buildings. Higher level Stone Quarries produce more Stone, and can accumulate more Stone without requiring collection.
Mine
Mines, in the same fashion as Farms, Sawmills, and Stone Quarries, produce Iron. Higher level Mines produce more Iron, and can accumulate more Iron over time without requiring collection.
Tip: You can claim the resources from your resource generating buildings quickly by tapping on the building, holding down your finger, and sliding it over your other resource generating buildings that are awaiting collection.
War Camp

War Camps are places to host your troops when you prepare to send them into the field. Having more War Camps, or higher level War Camps, allows you to train more Troops in your Troop production buildings (like the Barracks). It also increases the speed at which Troops train.
Medic Tent

Medic Tents are crucial for healing your wounded Troops and upgrading your Red Temple. If your Troops fall in battle, a Medic Tent allows a certain number of them to survive while wounded. Wounded Troops can be healed in the Medic Tent to restore them to fighting form. The more Medic Tents you have, the greater your capacity to accommodate wounded Troops—any Troops who are injured above the number that your Medic Tents can accommodate are killed, and new Troops must be trained to replace them. Healing wounded Troops is much faster and less expensive than training new ones, so don’t neglect your Medic Tents!
Tip: If you have more Troops wounded than your Medic Tents can accommodate, your Medics will automatically prioritize higher tier troops.
With this information, you should have everything you need to begin constructing the proudest city in all of Westeros…but yours is not the only Noble House vying for control of the Seven Kingdoms. If you want a great and noble city, you’re going to have to defend it! Check out our PvP Guide for more info.